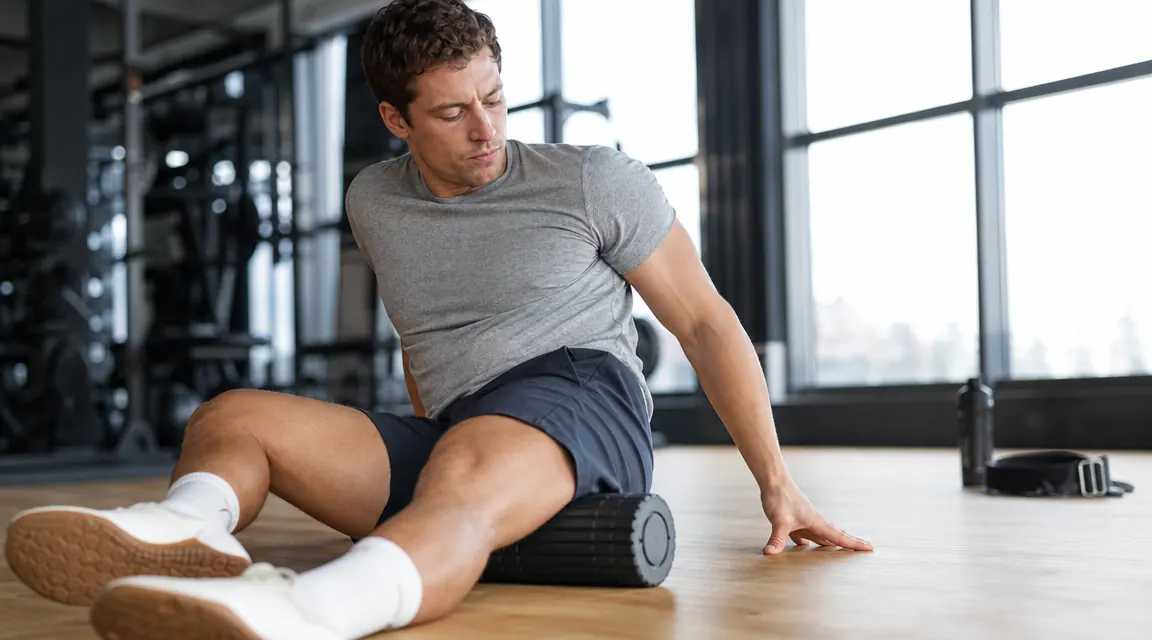
Two days after a hard squat session, your quads feel like someone filled them with wet cement. You can walk down stairs fine, technically, but nobody watching would call it graceful. That stiffness, that deep ache that peaks around 36 to 48 hours post-training, is DOMS: delayed onset muscle soreness. It is a normal part of building strength, but it does not have to keep you hobbled until Thursday every time you train legs on Monday.
Foam rolling is one of the few recovery techniques with enough research behind it to actually recommend with a straight face. A 2015 study in the Journal of Athletic Training found that foam rolling after exercise significantly reduced DOMS severity and maintained performance in subsequent sessions compared to no rolling at all. The mechanism is not magic: rolling increases blood flow, flushes metabolic waste, reduces fascial adhesions, and stimulates the nervous system to let overactive muscles relax. The TriggerPoint GRID foam roller, which I use after every lower-body session, has a multi-density surface that mimics a therapist's fingers in a way a plain smooth roller simply cannot match. It finds the tender spots and sits in them. Here is exactly how to use it.
If your legs still ache two days after every session, this is the tool worth picking up first.
The TriggerPoint GRID is the foam roller used by physical therapists and endorsed by USA Triathlon. Over 31,000 Amazon reviewers , rated 4.7 out of 5 stars. It holds its shape for years, unlike hollow-core cheap rollers that collapse after a few months. Check today's price below.
Amazon Check Today's Price on Amazon →Step 1: Wait Until You Have Cooled Down (But Do Not Wait Until Tomorrow)
Timing is the first thing most people get wrong. Rolling while you are still hot and heart-rate elevated is uncomfortable and less effective. Your muscles are swollen with blood and reactive. Give yourself 10 to 15 minutes after your last working set. Walk around, drink water, let your heart rate drop to near-resting. You want your body in a parasympathetic state, not still in fight-or-flight mode from a heavy set of leg press.
The other mistake is waiting until the next morning. By then the soreness has already set in and you are rolling inflamed tissue, which hurts more and accomplishes less. Rolling the same evening as your workout, when the muscles are still warm and pliable but the initial inflammation has not yet peaked, is the sweet spot. If your leg day is at 6pm, rolling at 7pm beats rolling at 7am the next day every time.
Set aside 10 to 12 minutes total. You will spend roughly 90 seconds per major muscle group. Put your phone down or queue up something to listen to. You cannot rush this and get results.
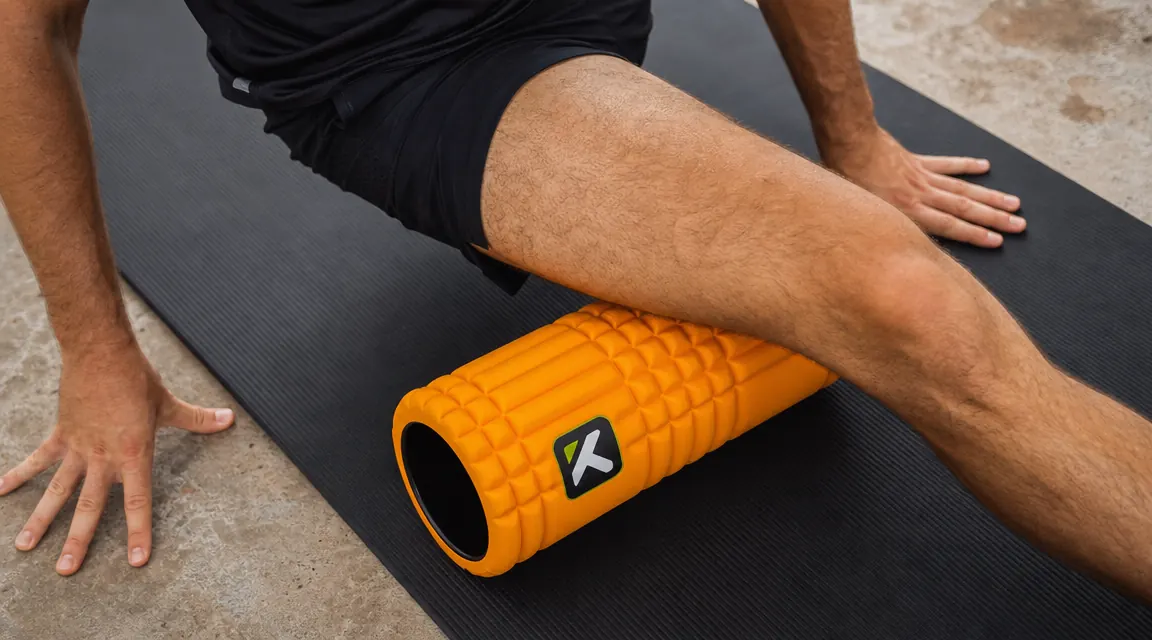
Step 2: Start With Your Quads , The Biggest Driver of Post-Leg-Day Stiffness
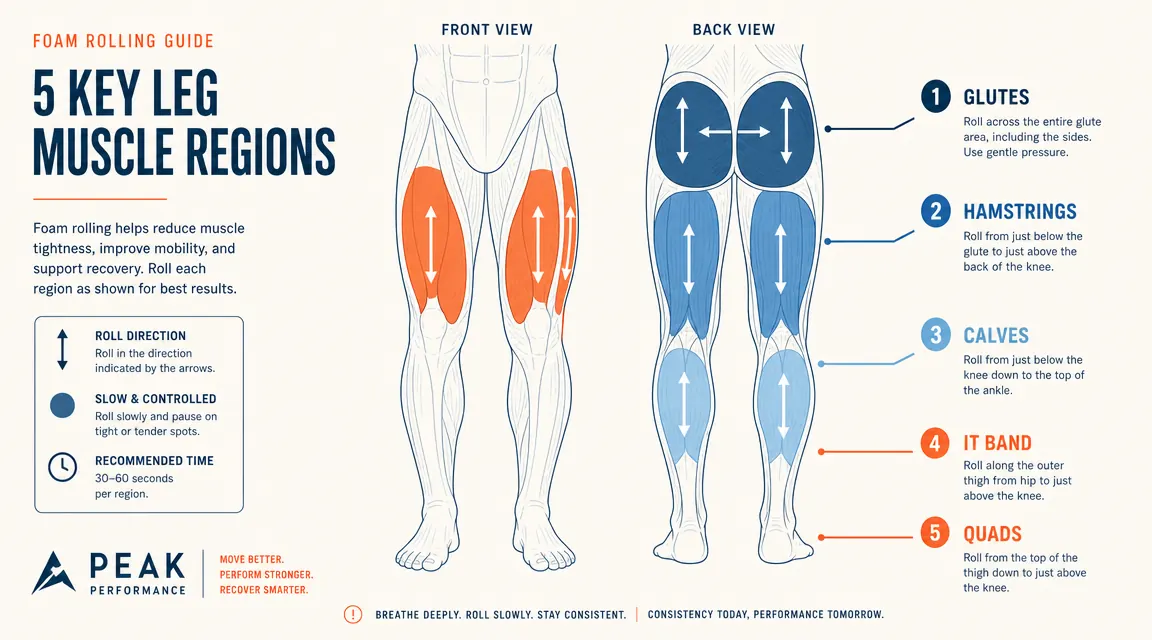
Lie face-down with the roller under your right thigh, just above the knee. Use your forearms to take some of your body weight, otherwise the pressure will be too intense to tolerate for a full 90 seconds. Slowly roll from just above the knee up to the hip crease, about two inches per second. When you find a tender spot, stop. Hold it for 20 to 30 seconds, breathe out slowly, and let the muscle release before moving on. The TriggerPoint GRID's ridged surface digs into the quad's four heads in a way that a flat roller glides over. You will feel the difference in the first pass.
After your full sweep, rotate slightly inward so you are rolling the inner quad (VMO area, the teardrop above your kneecap). Repeat the sweep. Then rotate outward to catch the outer quad that blends into the IT band. Total time on one quad: 90 seconds. Switch legs and repeat. Quads alone will take about 3 minutes, and most people notice they can already take a deeper breath by the time they finish.
Do not roll over the knee joint itself. Stay a palm-width above and below it. The knee is a hinge joint surrounded by ligaments and cartilage; rolling on it does nothing useful and risks aggravating the patellar tendon.
Step 3: Hit the Hamstrings , The Muscle Group Most People Under-Roll
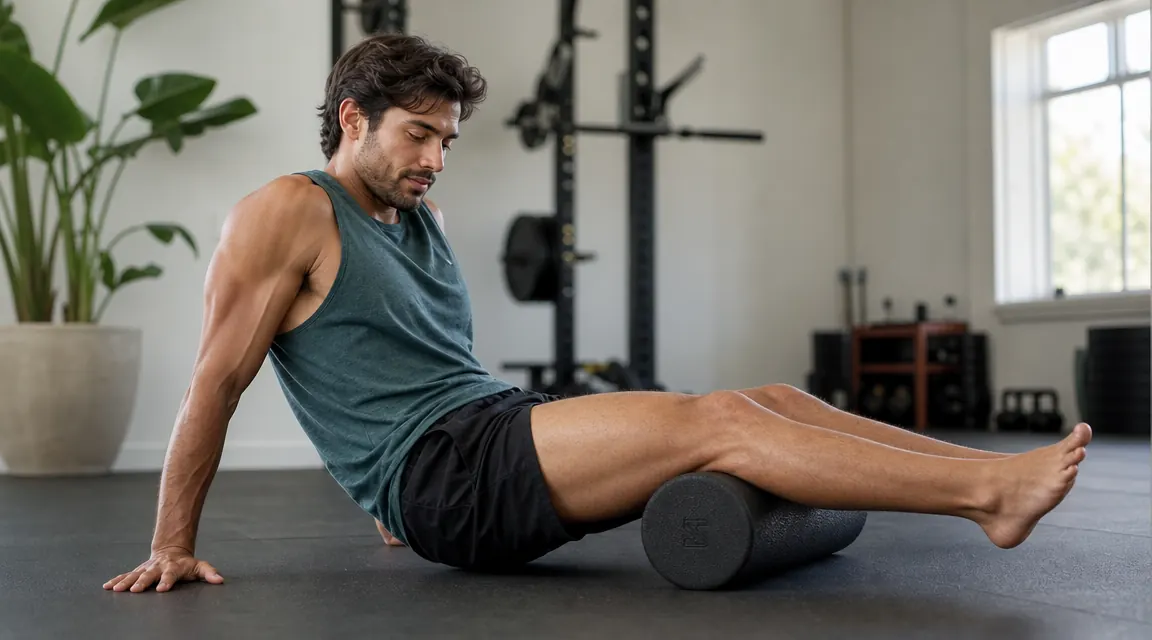
Sit on the floor with the roller under your right hamstring, just above the back of the knee. Put your hands flat on the floor behind you and press up slightly so you are not sitting full weight on the roller. Slowly roll from knee toward your glute. The hamstrings are dense and often hold a lot of tension after Romanian deadlifts or leg curls. You will likely find a gnarly spot about halfway up the thigh, right in the belly of the biceps femoris. Stop there. Bend and straighten your knee slowly a few times while the roller sits on that spot. This active release technique, borrowed from physical therapy, breaks up fascial adhesions faster than static pressure alone.
To increase pressure, cross your left ankle over your right shin. This narrows your base and shifts more of your body weight onto the roller. Use this for stubborn spots only. If the pain is sharp rather than a dull ache-and-release sensation, back off the pressure. You are looking for what therapists call productive discomfort, not pain that makes you clench your jaw.
The hamstrings hold tension quietly. By the time you notice tightness, the muscle has been restricted for days. Rolling the same evening as your workout keeps that from compounding into a real problem.
Step 4: Move to the Glutes , The Source of Most Low-Back Tightness After Squats
Sit on the roller with your right glute. Cross your right ankle over your left knee in a figure-four position. This position exposes the piriformis and deep gluteal muscles that often get wrenched after heavy squats and hip hinge work. Lean slightly to the right so your body weight loads the roller into the right glute. Roll slowly, and when you find a tender spot, hold it. The piriformis in particular tends to go into spasm after heavy leg sessions, and that spasm is a common cause of the low-back tightness people incorrectly blame on their erectors.
Spend 60 to 90 seconds on each side. If you have had sciatic nerve irritation in the past, use lighter pressure here and avoid rolling directly over the sacrum (the flat triangular bone at the base of your spine). The glute work is short but it has an outsized effect on how your hips and lower back feel the next morning.
Step 5: Finish With the Calves and IT Band
Sit with the roller under your right calf, just above the Achilles tendon. Cross your left leg over your right for added weight, or keep both legs separate if your calves are already tender. Roll from just above the ankle to just below the back of the knee. The calf is smaller and easier to overwork with the roller, so use moderate pressure and move slowly. Work the middle, then rotate slightly inward and outward to catch the medial and lateral heads. Tight calves after leg day often trace back to heavy calf raises or simply the cumulative effect of squatting with full depth.
The IT band is last because it is the least forgiving. Place the roller on your outer thigh, lying on your side, and roll from just above the knee to just below the hip. Most people find the IT band extremely uncomfortable to roll, especially the upper two-thirds where it thickens. Use light to moderate pressure and go slowly. If it feels like rolling over a wooden plank, that is normal. The discomfort decreases with consistent rolling over time, usually within two to three weeks of rolling after every leg session.
The multi-density construction of the TriggerPoint GRID matters most on the IT band. The raised grid pattern creates intermittent pressure that is more effective at releasing fascial tension than a flat roller, which tends to compress the IT band without genuinely releasing it. I have used cheaper smooth rollers and they simply do not produce the same next-day difference in IT band mobility.
What Else Helps Alongside Foam Rolling
Foam rolling is not a standalone recovery protocol. It works best as one layer in a small stack. Immediately after rolling, drink at least 16 ounces of water. The increased circulation you just created flushes metabolic waste into the bloodstream, and hydration helps your kidneys clear it. Dehydration is one of the fastest ways to amplify DOMS.
Contrast showers, alternating 60 seconds cold and 60 seconds hot for four cycles, pair well with foam rolling to further promote blood flow and reduce localized inflammation. Do the contrast shower before you roll if you have time, and roll after. Sleep is the non-negotiable third piece. No amount of foam rolling compensates for five hours of sleep. Aim for seven to nine hours, especially the night of a hard leg session, since that is when most of the protein synthesis and tissue repair actually happens.
If you want to go deeper on what the research says about foam rolling and recovery, the article on 10 ways foam rolling speeds recovery breaks down the mechanisms in more detail. And if you are deciding whether to upgrade to the TriggerPoint GRID from a basic roller, the full TriggerPoint GRID long-term review covers eight months of consistent use.
One thing worth being clear about: foam rolling reduces soreness, it does not eliminate it entirely. If you trained hard enough to create meaningful muscle stress, you will feel it the next day. The goal is to cut that from three to four days of restricted movement down to one day of mild stiffness. That is a realistic outcome. Anyone selling you a protocol that claims to eliminate DOMS completely is overselling.
Ten minutes tonight means you can actually walk tomorrow without wincing.
The TriggerPoint GRID Foam Roller is the tool built for this exact use case. The multi-density grid surface targets the quad, hamstring, and IT band in a way flat rollers miss. It has held up for years in professional training environments and costs less than one sports massage. Check today's price and current availability on Amazon.
Amazon Check Today's Price on Amazon →